The Beauty of Orchids: A Gift That Keeps on Giving
Giving or receiving an orchid as a gift is always a delight. Unlike traditional flower bouquets, orchids can be kept for a long time and can bloom again with the right care and attention. In this article, we will explore the process of reviving your gifted orchid and provide you with practical tips for successful reblooming.
Understanding Orchids: Exquisite Epiphytic Plants
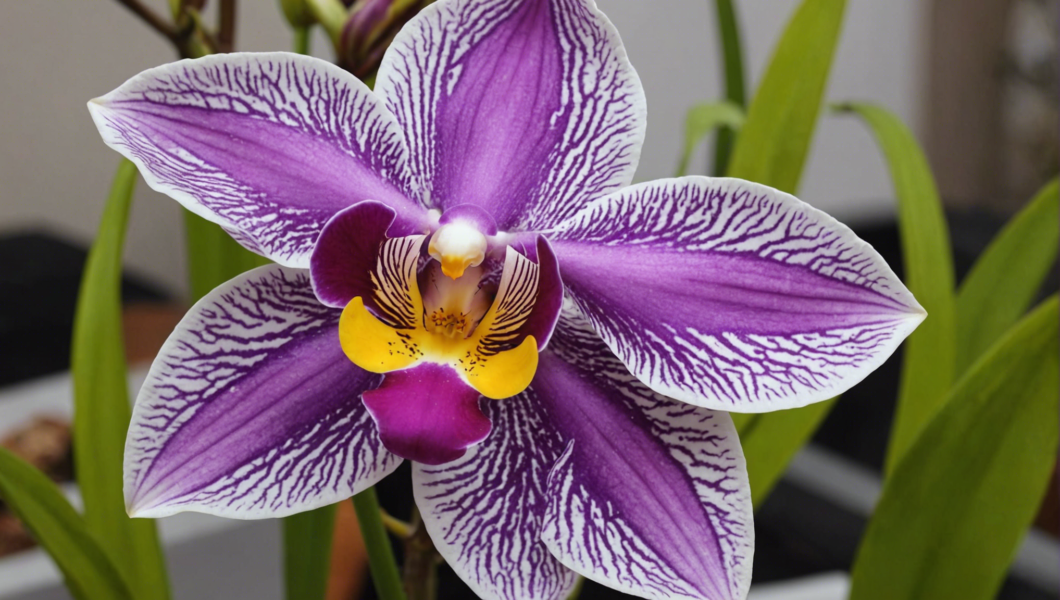
Indoor orchids, especially the Phalaenopsis or moth orchids, are the most common and easy-to-care-for variety. With their delicate and sophisticated flowers in various colors and patterns, these orchids are a true beauty to behold. The foliage of orchids is evergreen and remains intact throughout the year.
In their natural habitat within the tropical forests of Asia and Oceania, orchids are epiphytic plants. This means that they do not require traditional growing mediums such as soil to thrive. Instead, they grow directly on other plants, using their roots to extract nutrients for growth. The aerial roots of orchids enable them to cling onto tree trunks and absorb moisture from the atmospheric air or rain and dew. It’s essential to recreate these growing conditions to ensure a long and healthy life for your gifted orchid.
Creating Ideal Growing Conditions for Your Orchid
Orchids prefer warm temperatures ranging from 18°C to 25°C (64°F to 77°F), which are commonly found in indoor environments. They dislike colder temperatures below 10°C (50°F) and thrive in the warmth of our homes.
These tropical beauties have also retained their affinity for humid environments and dislike dry conditions. When it comes to lighting, orchids enjoy bright light but not direct sunlight, as it can cause damage to the flowers and foliage. Opt for a spot near a window with filtered light or use a sheer curtain to dim the direct sunlight. Morning sunlight exposure is usually the most suitable for orchids.
Securing an ideal location with these factors will be the first step to ensure the longevity of your gifted orchid.
Pruning for Reblooming: A Key Step
After the initial bloom has faded, the first step for encouraging new flower buds is to prune the faded flower stem just above a node or dormant bud. This pruning technique stimulates the growth of new flower buds or even new plants, known as keikis. Use clean and sharp tools such as scissors or pruners for this task. You will start seeing new flowers or keikis within a few weeks.
If the stem becomes completely dry, usually after the second flowering cycle, trim it down to the base and be patient as it may take a few weeks to several months for a new flower stem to emerge. Avoid pruning the aerial roots and foliage unless they are yellowing.
Additional Care Tips for Reblooming Success
A few simple care practices will help you enjoy your gifted orchid for longer and experience multiple blooms. Contrary to their reputation for being difficult plants, orchids have relatively straightforward requirements, with a few specific considerations compared to other plants.
Repotting the Orchid
Every 2 to 3 years, it is necessary to repot your orchid to provide fresh nutrients for its growth. The best time for repotting is in spring or fall.
Lack of blooming or roots growing out of the original container are signs that repotting is needed. When repotting, choose a slightly larger pot than the previous one, as orchids do not require much space to thrive. Terra cotta pots allow better substrate breathability, but water evaporates faster. Clear plastic pots are suitable if you can manage proper watering and they allow you to monitor the root health. You can also use decorative cache pots for aesthetic purposes.
To repot your orchid, follow these steps:
- Fill the bottom of the new pot with substrate.
- Gently remove the orchid from its old container, making sure to shake off the old substrate.
- If necessary, trim any damaged parts (soft, browned roots) using sanitized tools to prevent disease transmission.
- Place the orchid in the new pot and fill it with substrate.
- Gently press the substrate around the plant.
Choosing the Right Orchid Substrate
Orchid substrate should be well-drained and never clumpy. It needs to be light and allow water to pass through easily, avoiding stagnation. There are special orchid substrates available in stores or online. However, you can also create your own mixture using coarse pieces of pine bark, organic fibers, pumice, cork, or charcoal. Avoid using garden soil, universal potting soil, or soil mixes meant for other plants since they can suffocate the roots.
Watering Techniques
Orchids are particularly sensitive to stagnant or excessive water, as it can lead to root rot. Healthy roots are firm, green, or white in color.
An effective watering technique for orchids is by soaking. Simply place the plant in a sink or bucket with a small amount of water, allowing the substrate to absorb moisture for about 15 minutes. Afterward, let it drain before returning it to its spot. This method reduces the risk of overwatering. Depending on the temperature and humidity, orchids usually require watering once a week.
If you use a cache pot or saucer under the container and notice excess water, make sure to remove it promptly.
It is ideal to use room temperature rainwater for watering your orchid, as it is less calcareous than tap water.
Fertilizing your Orchid
Orchids do benefit from fertilization to support their blooming cycles, but they are not heavy feeders. During the growth period, you can dilute a liquid orchid fertilizer in the water every 2 to 3 times between spring and fall. Alternatively, slow-release fertilizer sticks placed in spring provide longer-lasting nourishment.
Always fertilize after watering and only use a small amount.
With the right care and attention, your gifted orchid can bring you joy with multiple blooms. By understanding the unique needs of orchids and following these tips for revival and reblooming, you can enjoy the beauty and elegance of these exquisite plants.